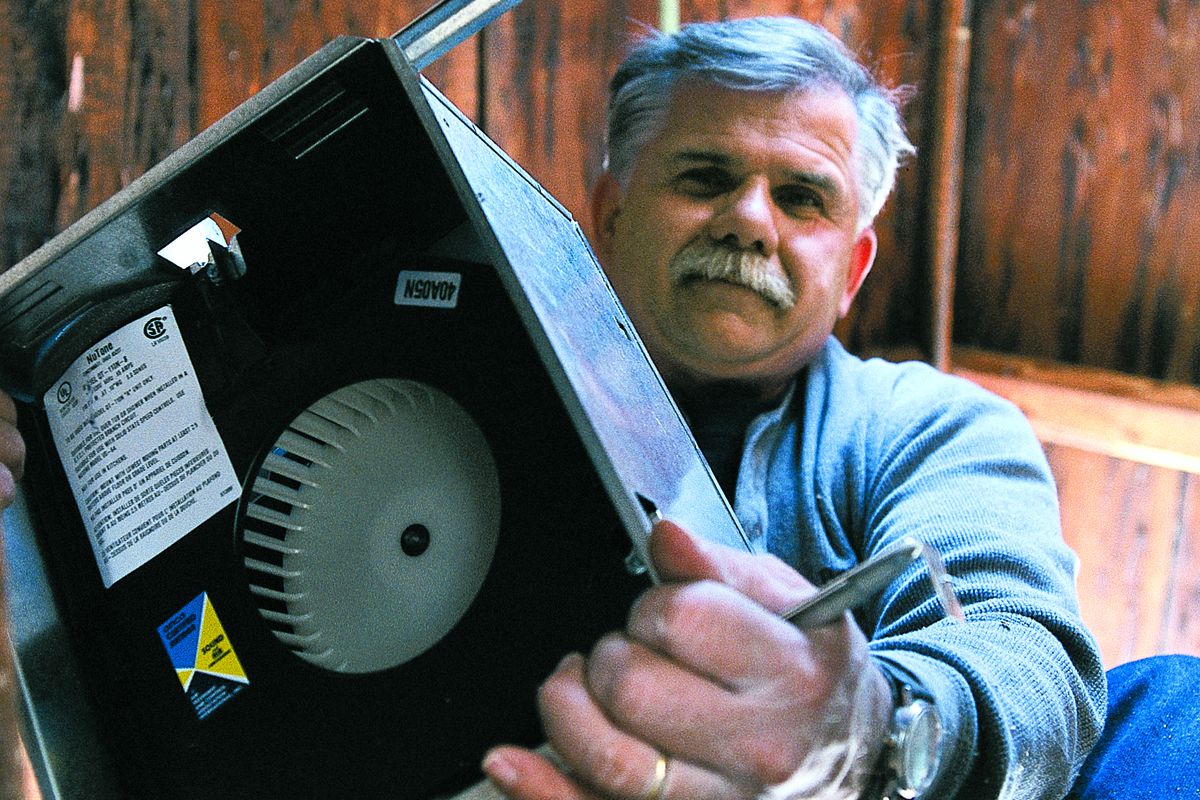
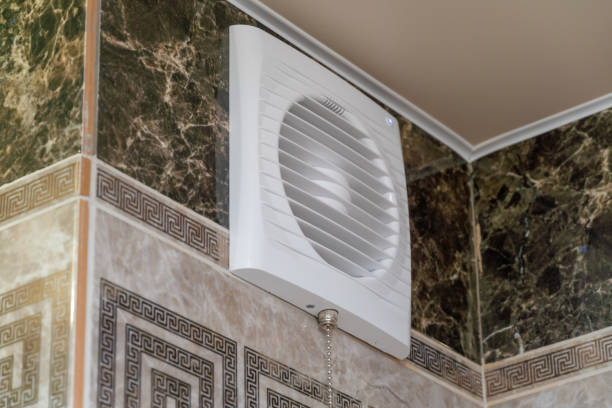
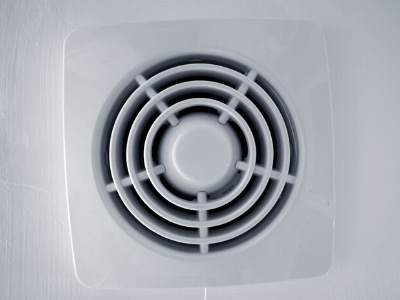
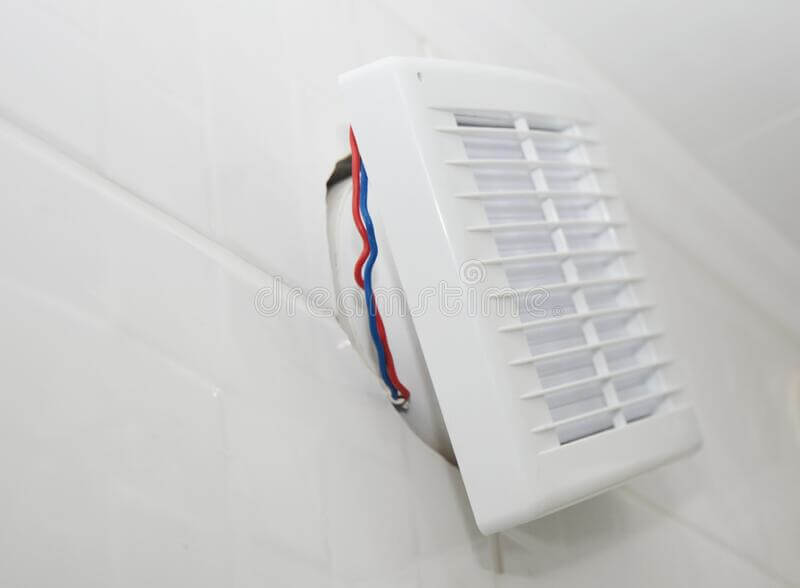
How to vent a bathroom fan through the wall: a step by step elaborate discussion for you

It is a long established fact that a reader will be distracted
Comments(0)