Kitchenaid mixer attachment will make our journey more comfortable and reliable. Did you get amazed by how 20-30 pounds of cakes can be made by somebody? It’s fascinating. Most of the time, we get tired of using our kitchenaid mixer attachments properly. As a result, it kills our valuable time.
There are thousands of kitchenaid mixers available for different uses. Some of them are used for making a cake, some uses for mash or grinder meat. If you fail to use them properly, you kill your time instead of benefits. Check the below-stated instruction to achieve knowledge on how to use kitchenaid mixer attachments.
Effective ways to use kitchenaid mixer attachments properly:
However, I have researched thousands of pages, blogs, and videos on this matter. Well, we all want an easy solution for our busy life. Before starting how to use kitchenaid mixer attachments, check the above list of different kitchenaid attachments. I have included here only six out of the thousands of attachments.
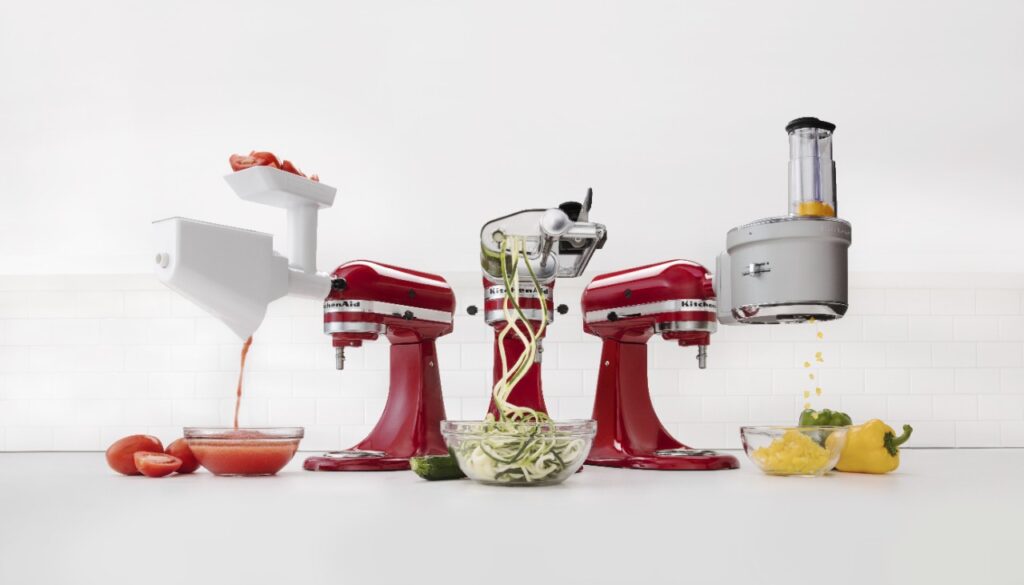
- List Of Different Kitchenaid Mixer
- Ice-cream mixer.
- Cake mixer attachments, including wire hoops, dough hooks, scrapers, beaters, etc.
- Pasta makers mixer.
- Juicers and strainers of the kitchen.
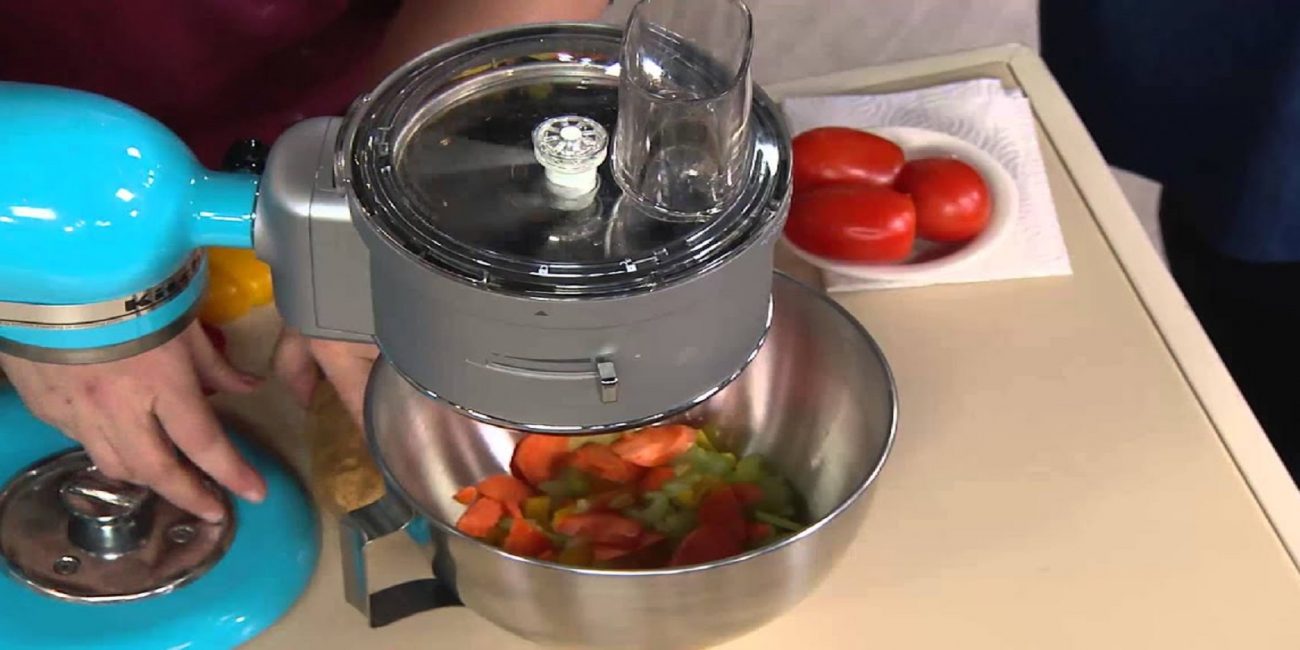
- Food processor mixer.
- Peelers, spiralizers, slicers and shredders mixers, etc.
The Overall Discussion on Kitchenaid Mixer Attachments (Only Three):
Let us have a vivid discussion on using three-six kitchenaid mixer attachments.
Use Ice-cream Maker Attachment:
There are hundreds of models and functions on the marketplace of ice-cream. If you are a summer-time ice-cream lover, get the attachment that is used on another work. Follow these steps for making a better ice-cream beater by using ice-cream mixer attachments.
Step-1: Make a Perfect Ice-cream Beater First
Ice cream is made with two processes. One is “conversion,” and another is “ripening.” Conversion maker will come off a softened texture while a harder consistency will make “Ripening.” First of all, make a perfect ice-cream beater.
Step-2: Attach The Drive-Assembly & Dasher
Maximum Ice-cream maker attachments will come off three things. One is a dasher, drive assembly, a bowl, and a thin saucer. Fit the drive-assembly to the bottom of the machine. Then freeze the bowls for 20 minutes in the refrigerator before going to mix them. After that, joint the drive Assembly and dasher together.
Step-3: Switch the machine And Put The Mixer Slowly.
Finally, switch the machine on a low volume and put the ice-cream mixer slowly on it. It takes 10 minutes to mix properly.
Use Kitchenaid Mixer For a Cake:
Kitchenaid mixer attachment is mainly discovered for making thousands of cakes at a time, I think. The cake is delicious food that we all want to try at home. Follow these below steps for making the best beater of a cake.
Step-1: Lift the Head Off Your Attachments
Generally, all Kitchenaid mixer attachments will come off three accessories. These are a beater, a dough hook, and a whisk. First of all, lift the head off your attachments. Unlock and clock the attachments.
Step-2: Remove the Bowl
Before removing the bowl, make sure to hold on to the head of the attachments. Then round down the bowl and remove it slowly.
Step-3: Put the Beater On The Head
Put the beater on the head of the attachments, then rotate it clockwise rules. Now unlock the beater righteously.
Put some cake butter in the bowl, then replace it on the attachments. Click the “On” button and make a puffy, smooth cake butter approximately.
Use Kitchenaid Attachments For Pasta:
Kitchenaid mixer attachments will come off three or four sets. Different attachments have different models and accessories. If you find five sets in one attachment, it’s good to work for a while. Follow these steps for making delicious pasta.
Step-1: Prepare Your Pasta Dough
Put one to half kg flour, water, two eggs, salt, and butter on the attachment bowl. Then Unlock the dough-hook on the mixer. Slowly start down the mixer and make a perfect dough by it.
Step-2: Put a Pasta Roller On The attachments
Now wrap the dough with a plastic wrapper and leave it for 20-25 minutes. Then dust a chopping board with flour and attach the dough hook. Knead the dough until it gets indents. Cut out the dough into flat shapes. Cover them with a wet small kitchen towel to keep them moist and soft.
Step-3: Attach The Pasta Roller
Finally, attach the pasta roller to the hook of the bottom. Then run the pasta through the roller. When you can do it professionally, coat it with flour. Afterward, do the same procedure for the Left ones.


Comments(0)